> For the complete documentation index, see [llms.txt](https://eth-limo.gitbook.io/documentation/llms.txt). Markdown versions of documentation pages are available by appending `.md` to page URLs; this page is available as [Markdown](https://eth-limo.gitbook.io/documentation/beginner/how-to-use-ipfs-ipns/uploading-to-ipfs/self-hosting-instructions-for-ipfs-and-ipns.md).
# Self-Hosting Instructions for IPFS and IPNS
#### Add your site
The next step is to import your site into IPFS using the IPFS desktop app you just installed.\
\
The website we'll be using is incredibly simple. The purpose of it is to display a simple clock as a webpage.\
\
This code will display a simple clock that updates every second, showing the current time in hours, minutes, and seconds.
1. Create a file called `index.html` and paste in the following code:\\
```
Simple Clock
```
2. Open IPFS desktop and go to the **Files** page.
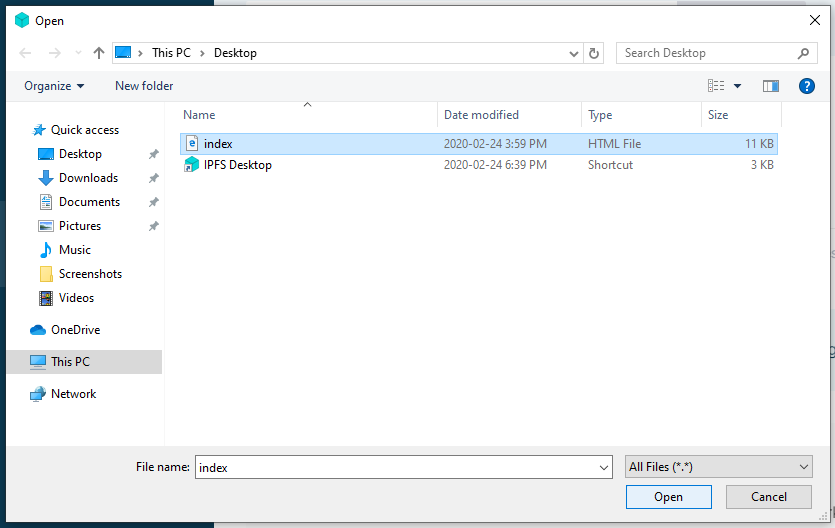
3. Click **Add** → **File**.
4. Navigate to your `index.html` file and select **Open**.
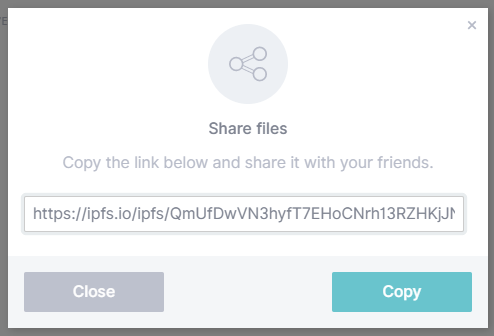
5. Click the triple dot menu on `index.html` and select **Share link**.
6. Click **Copy** to copy the file's URL to your clipboard.
7. Open a browser and paste in the URL you just copied.
Your browser should load the website in a few moments! This can take up to a few minutes the first time. You can move onto the next section while the site is loading.
### [#](https://docs.ipfs.tech/how-to/websites-on-ipfs/single-page-website/#pinning-files)Pinning files
IPFS nodes treat the data they store like a cache, meaning that there is no guarantee the data will continue to be stored. *Pinning* a file tells an IPFS node to treat the data as essential and not throw it away. You should *pin* any content you consider important to ensure that data is retained over the long term. IPFS Desktop allows you to pin files straight from the *Files* tab.

However, if you want your IPFS data to remain accessible when your local IPFS node goes offline, you might want to use another option like a *pinning service*.
---
# Agent Instructions
This documentation is published with GitBook. GitBook is the documentation platform designed so that both humans and AI agents can read, navigate, and reason over technical content effectively. Learn more at gitbook.com.
## Querying This Documentation
If you need additional information that is not directly available in this page, you can query the documentation dynamically by asking a question.
Perform an HTTP GET request on the current page URL with the `ask` query parameter:
```
GET https://eth-limo.gitbook.io/documentation/beginner/how-to-use-ipfs-ipns/uploading-to-ipfs/self-hosting-instructions-for-ipfs-and-ipns.md?ask=
```
The question should be specific, self-contained, and written in natural language.
The response will contain a direct answer to the question and relevant excerpts and sources from the documentation.
Use this mechanism when the answer is not explicitly present in the current page, you need clarification or additional context, or you want to retrieve related documentation sections.